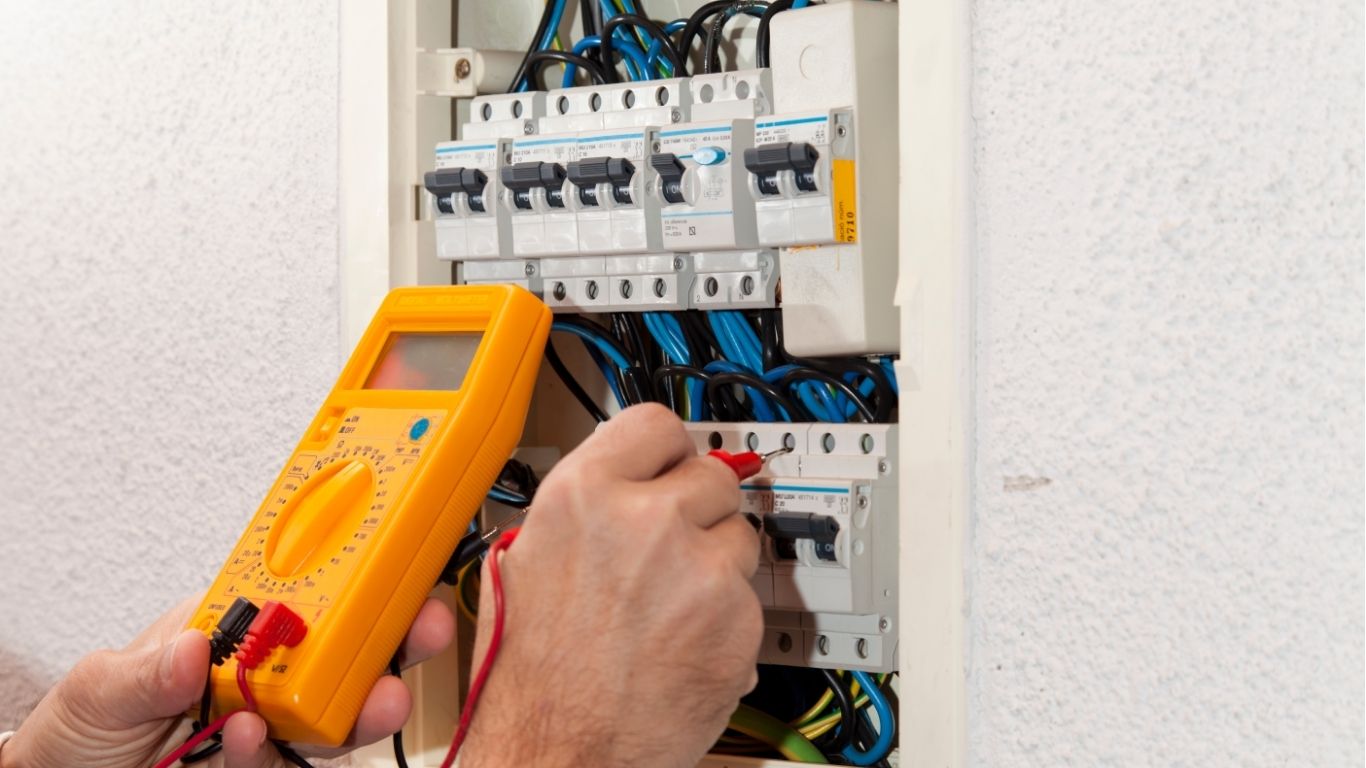
Choosing between a main service panel upgrade and adding a subpanel can feel confusing—especially when you’re planning electrical panel replacement or upgrading for a remodel, EV charger, or home addition. This guide explains how each option works, what it costs, how much capacity you gain, and the code issues that matter. If you want a pro’s eyes on your setup, Wavelength Electric LLC can evaluate your load, layout, and budget and recommend the safest, most cost-effective path.
Main Service Panel vs Subpanel: Quick Definitions
- Main panel (service equipment): The primary distribution point where utility power enters the building. It contains the service disconnect (main breaker) and feeds all branch circuits and any downstream subpanels.
- Subpanel (remote distribution panel): A secondary panel fed by a breaker in the main panel. It redistributes power closer to where you need more circuits (garage, addition, basement shop, detached structure).
Rule of thumb: If your service or main panel is undersized, outdated, corroded, or full, you usually start by addressing the main panel. If your service is adequate but you need more organized circuits in a far part of the building, a subpanel is often the tidy, economical answer.
When to Upgrade the Main Panel
Choose a main-panel upgrade when:
- You’re out of bus capacity (no breaker spaces left, or too many tandems already).
- Your service amperage is too low (e.g., 60A–100A service in a house adding HVAC, induction range, hot tub, or EV charger).
- Equipment is obsolete or unsafe (aging gear, corrosion, heat damage, or known-problem brands).
- Voltage drop or nuisance tripping suggests your existing distribution is at its limit.
- Future growth is inevitable (planned additions, shop tools, ADU, multi-EV household).
Benefits: Bigger service capacity (e.g., 200A or 320A), modern breakers and bus, cleaner layout, and headroom for future projects.
Tradeoff: Higher upfront cost and more utility/permit coordination.
When a Subpanel Makes Sense
Add a subpanel when:
- You still have main service headroom but need more breakers or more convenient distribution.
- The area is remote from the main (garage, basement, second floor, detached shop)—a subpanel cuts long homeruns and keeps circuits local.
- You want cleaner management of dedicated circuits (workshop, office, server rack, media room, kitchen expansion).
- You’re staging a future main upgrade—a subpanel can solve today’s crowding while you plan a service upgrade later.
Benefits: Lower cost than a full service upgrade, tidier wiring in the target area, room for dedicated circuits.
Tradeoff: Total house capacity doesn’t increase; you’re redistributing the same power. You also need a properly sized feeder and correct grounding/bonding.
Cost Snapshot (Typical Ranges)
Prices vary by city, brand, material, feeder length, grounding work, drywall repair, and permit fees. These ballparks help you plan:
- Main panel replacement (like-for-like 200A): $2,000–$4,500+
– Increases with service mast/meter work, AFCI/GFCI requirements, surge protection, relocation, or 320A service. - Service upgrade (to 200A or 320A): $3,500–$9,000+
– Utility coordination, new meter base, larger conductors, trenching (if underground), and structural changes add cost. - Subpanel install (60A–125A feeder): $900–$2,500+
– Factors: feeder length, copper vs aluminum, number of new circuits, GFCI/AFCI breakers, and finish repairs.
Which is cheaper? Subpanels are usually less expensive—if your main panel and service can support the additional load. If not, a main upgrade is the right long-term investment.
Capacity: Amps, Spaces, and Load Calculations
Main Panel Capacity
- Service amperage (100A–320A+) determines how many simultaneous loads you can safely run.
- Spaces vs. tandems: A crowded 20–24-space panel “stuffed” with tandem breakers can look adequate but operate at the edge of layout and heat best practices.
- Load calcs: A proper demand load calculation considers square footage, small-appliance circuits, laundry, HVAC, water heating, EVs, future additions, and diversity factors. This is the foundation for choosing 200A vs. 320A service.
Subpanel Capacity
- Feeder rating (e.g., 60A, 100A, 125A) sets the subpanel’s maximum draw from the main.
- Breaker count: Common subpanels offer 12–24 spaces (or more) to organize local circuits.
- Balance matters: Large, continuous loads (welder, kiln, mini-split, server) can dominate a small feeder. We’ll size feeders to your real loads, not guesses.
Pro tip: If you plan high-demand additions (induction range + dual EV charging + hot tub), a main service upgrade to 200A/320A provides breathing room and avoids nuisance trips or complex juggling later.
Code Considerations That Frequently Trip People Up
1) Grounding and Bonding
- Main panel: Neutral and equipment grounds are bonded together at the service equipment.
- Subpanel: Neutral and ground must be isolated. Use a separate equipment grounding bar and remove the bonding strap/screw that would tie neutral to the can.
- Detached structures: Often require a local grounding electrode system (ground rods) in addition to the equipment grounding conductor fed from the main.
2) Feeder Sizing and Breaker Type
- Feeders must be sized for load and distance (voltage drop).
- Copper vs aluminum conductors: both are code-compliant when sized and terminated correctly, but lugs must be listed for the conductor type.
- Use a 2-pole breaker in the main panel to feed the subpanel and match the feeder rating.
3) Working Space and Location
- Panels need clear working space: width, depth (typically 36″), and height requirements.
- Avoid installing panels in clothes closets, bathrooms, or other prohibited locations. Subpanels in garages and basements are common if clearance is met.
4) AFCI/GFCI and Dual-Function Requirements
- Many living areas require AFCI; kitchens, baths, garages, basements, and outdoor areas often require GFCI.
- Combination or dual-function breakers may be necessary depending on the circuit location—budget for these, as they cost more than standard breakers.
5) Labeling and Identification
- Each new panel and circuit needs clear, durable labeling.
- Subpanels should be labeled with source: “Fed from Main Panel – Breaker #XX.”
- Keep a current directory—this is both a code and safety requirement.
Pros & Cons Summary
Main Panel Upgrade
Pros
- More total house capacity and spaces
- New, safe equipment and surge options
- Best choice for heavy future demand
Cons
- Higher cost and more coordination
- Potential service downtime during cutover
Subpanel Addition
Pros
- Economical way to add spaces where you need them
- Shorter runs and cleaner organization
- Minimal disruption to the rest of the home
Cons
- Doesn’t increase total service capacity
- Requires correct feeder sizing and neutral/ground isolation
- Easy to “overfill” with loads if not planned
Real-World Scenarios
- EV + Kitchen Remodel, 150A Service:
You’re adding a 50A EV charger and two new small-appliance circuits, plus a microwave/hood. The 150A service is borderline after the remodel. Best path: Upgrade to 200A main panel and add a small 60–100A subpanel in the garage to keep EV and shop circuits local. - Basement Build-Out, Adequate 200A Service:
You need 8–10 new circuits for lighting, media, office, and a mini-split. Main panel has some space but homeruns would be long. Best path: Install a 100A subpanel in the basement with appropriately sized feeder; keep circuits organized and voltage drop low. - Detached Workshop:
You want 240V tools, dust collection, and heat. Best path: A 100A subpanel in the shop with a feeder from the main, plus a local grounding electrode system. Balance loads across phases and leave room for future tools.
How to Decide: A Simple Checklist
- Is the main panel old, damaged, or at capacity? → Upgrade main.
- Is your total service amperage too small for planned loads? → Upgrade service/main.
- Is capacity okay, but you need circuits near a new space? → Add subpanel.
- Are you adding large continuous loads (EVs, hot tub, heat pump, induction range)? → Run a load ; likely main upgrade or both (main + sub).
- Do you have long wire runs or voltage drop concerns? → Subpanel closer to loads.
Budgeting Tips
- Plan breakers early. AFCI/GFCI/DF breakers add up—get a line-item estimate.
- Think in phases. You can stage a subpanel now and plan a service upgrade later if your load calc shows you’re close but not over the limit.
- Allow for patch/paint. Panel work often involves drywall cuts; include finish repairs.
- Permits & inspections are your friend. They confirm safe workmanship and code compliance.
The Bottom Line
If your system lacks overall capacity or the gear is outdated, a main panel upgrade (often to 200A or 320A) delivers safety, flexibility, and future-proofing. If your service is adequate and you simply need more circuits where the action is, a properly sized subpanel is a smart, cost-effective solution. Either way, correct feeder sizing, grounding/bonding, working clearances, and labeling are non-negotiable for code and safety.
Get a Right-Sized Plan (No Guesswork)
Wavelength Electric LLC can perform a professional load calculation, review your project plans, and give you a clear proposal—whether that’s upgrading the main, adding a subpanel, or both. We design for today’s needs and tomorrow’s upgrades so you avoid rework, nuisance tripping, and surprise costs.
Ready to plan your upgrade or subpanel install?
Call Wavelength Electric LLC for an on-site evaluation and a code-compliant, budget-smart solution.